-0dc0a09f3d22.webp&w=2048&q=75)
Featured insight
How to Upscale Images to 4K Using Nano Banana Pro ( Step-by-Step Guide )
Priyap01
December 2, 2025•2 min read
#learning
#TABLE OF CONTENTS:
- What Makes Nano Banana Pro Different?
- How to Upscale Images to 4K: Step-by-Step
- Real Results: What You Actually Get
- Best Practices & Tips
- Who Should Use This?
- Conclusion
1. What Makes Nano Banana Pro Different?
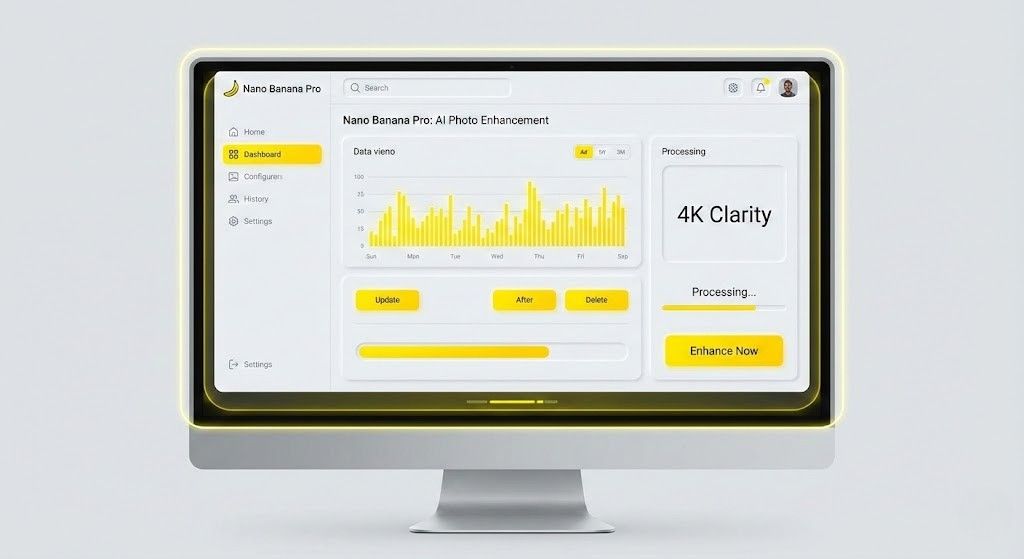
Nano Banana Pro has quickly become one of the most powerful AI tools for creators who need ultra-clean, crisp, high-resolution outputs. Unlike standard upscalers that simply sharpen pixels, NB Pro uses:
- Neural Texture Reconstruction
- Detail Enhancement Layers
- Smart De-Noise + Edge Clarity Models
- AI Super-Resolution 2.0 Engine
This allows it to rebuild your images with new high-quality details, making them look naturally shot in 4K or even higher.
Whether you’re a designer, photographer, product creator, or a meme page owner, Nano Banana Pro gives you studio-grade upscaling in seconds.
2. How to Upscale Images to 4K: Step-by-Step

Follow this exact workflow for the best results:
Step 1: Upload Your Base Image
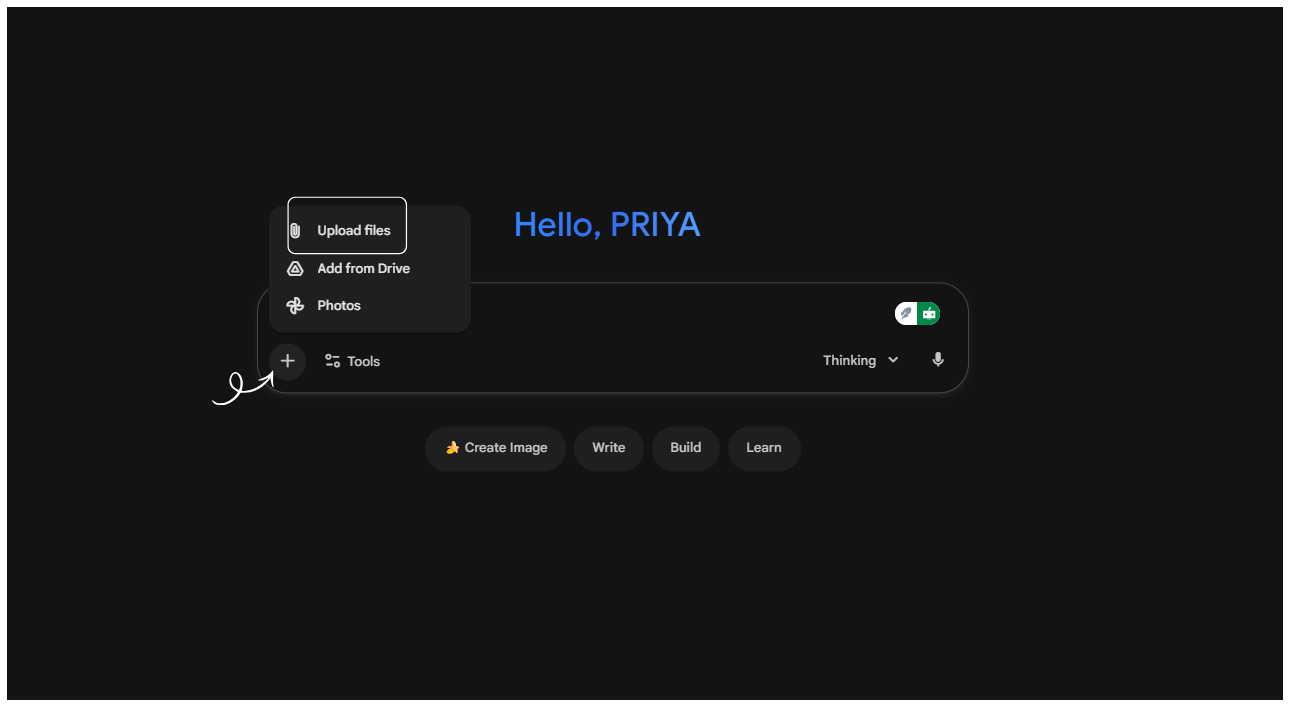
Choose the image you want to upscale portrait, product shot, artwork, screenshot, meme, anything.
Step 2: Choose “4K Ultra Enhancement” Mode

Nano Banana Pro gives you multiple modes like:
- Detail Boost
- Texture Rebuild
- Soft Film 4K
- Sharp 4K Reconstruction
For the cleanest result, select Ultra 4K Enhancement.
Step 3: Set Sharpness & Noise Reduction
Recommended settings:
- Sharpness: +30 to +45
- Detail Recovery: High
- Noise Reduction: Medium (don’t overdo it)
Step 4: Generate
Click generate and let the AI rebuild every pixel with deep detail.
Step 5: Compare Before/After

You will see improved:
- Hair strands
- Skin pores
- Fabric texture
- Background clarity
- Logo Sharpness
- Overall realism
3. Real Results: What You Actually Get
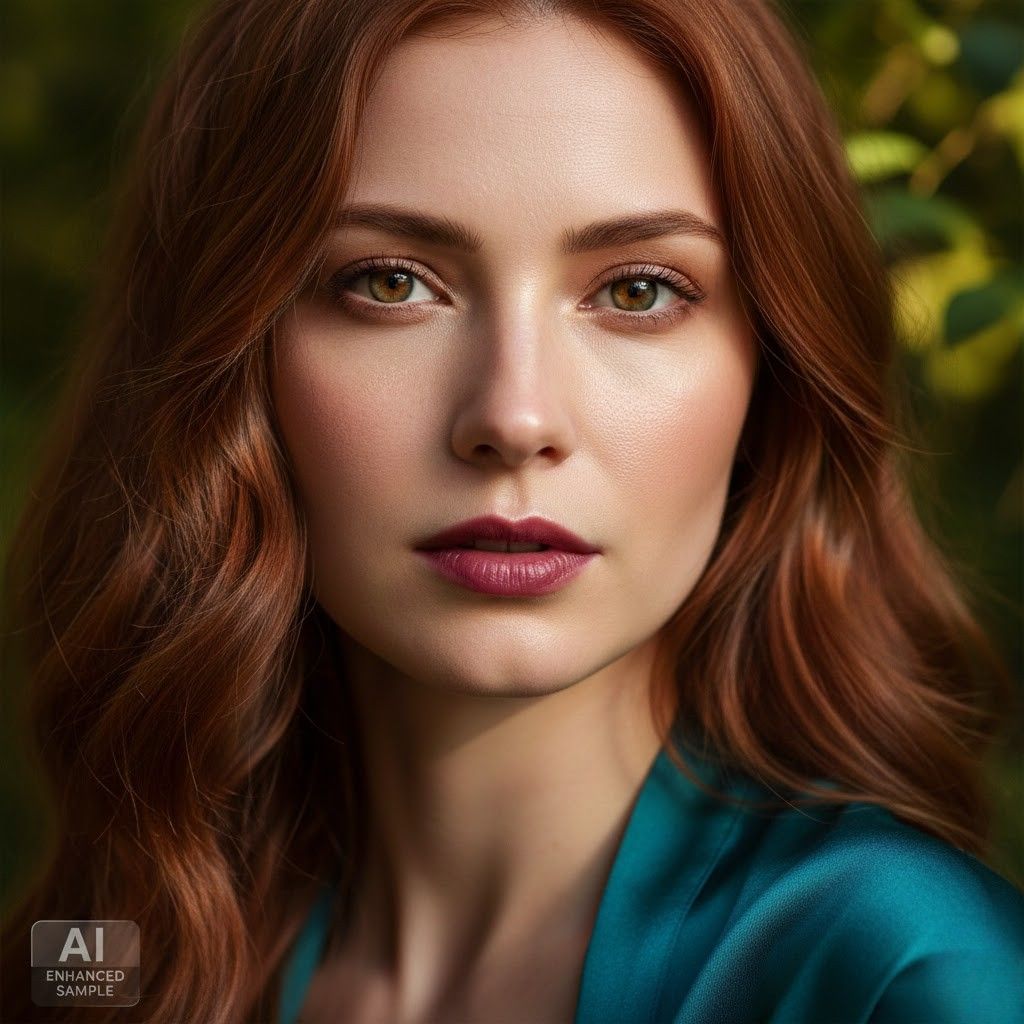
When you upscale with Nano Banana Pro, you’re not just stretching the image.
You get AI-generated new details, including:
- Natural textures instead of blur
- High-contrast edges
- More realistic lighting
- Color depth reconstruction
- Crystal-clear output in PNG or JPG
Users have used it for:
✔ Amazon/Etsy product photos
✔ LinkedIn banners
✔ 3D-render cleanup
✔ Old photo restoration
✔ AI character enhancement
✔ Poster-quality exports
When put side-by-side, the 4K result often looks like a professionally shot image.
4. Best Practices & Tips
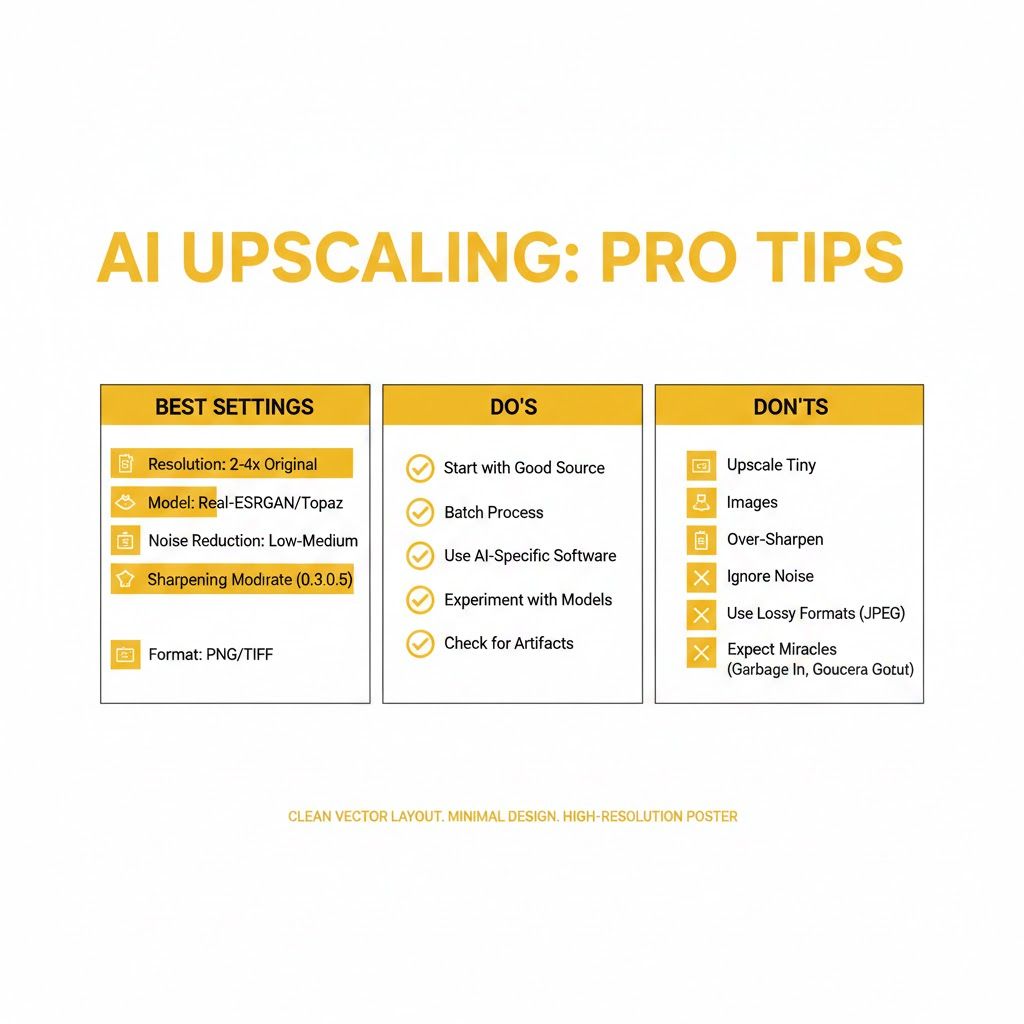
To get the best 4K upscale:
✔ Use the highest quality base image available
Low-resolution inputs work, but medium-quality inputs upscale WAY better.
✔ Avoid grainy or overly compressed images
The AI may create unwanted patterns.
✔ For faces, use “Portrait Detail Enhancer”
It prevents unnatural skin smoothing.
✔ For products, use “Texture Rebuild” mode
This preserves material detail like fabric, plastic, wood, or metal.
✔ Upscale before editing
Color grading + editing after upscaling gives cleaner results.
5. Who Should Use This?
Nano Banana Pro is perfect for:
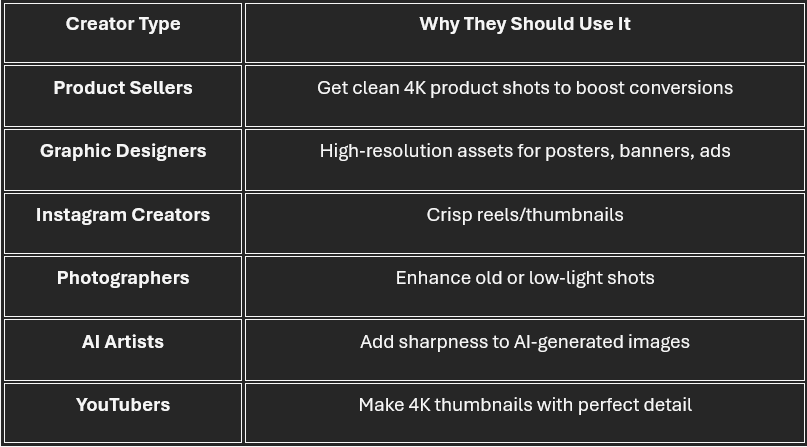
6. Conclusion

Nano Banana Pro is not just an upscaler it's a 4K enhancement engine that rebuilds your images with smart AI detail reconstruction. Whether you’re working with product shots, portraits, designs, or AI renders, it gives you studio-quality output in just a few clicks.
If you want ultra-sharp visuals without complicated software, this tool is one of the best choices available today.
0 Comments
No comments yet. Be the first to start the discussion!